Showing posts with label Dessert. Show all posts

Friday, July 13, 2012

Foggy Day Popsicles Round 2


A little San Francisco fog never slows us down when it comes to making popsicles around these parts. My son had been drooling over the Fruit Salad Popsicles from the cover of last summer's Everyday Food Summer issue and we finally got around to making them. Since his sister was in school that day we had some time to do these together and it was a perfect afternoon shopping trip and home project. These could not be easier and I don't know why I didn't do them sooner - it's just white grape juice and sliced fruit, after all. My son took great pleasure in using a knife on his own to cut up the fruit and these were all consumed in one day.

Studying the picture so he could cut the strawberries the same way

Ta Da!

Tuesday, July 10, 2012

The Dude Abides

Point Break meets The Big Lebowski
For the past few months my son was set on having a Mad Scientist birthday party. We had been watching fun science experiments on YouTube and researching ideas for transforming our garage into a labratory for his party. But then in the month leading up to his birthday he changed his mind and begged asked for a bowling birthday party at the local bowling alley. I was a little disappointed not to be able to execute the Mentos and Diet Coke experiment on our street, spraying cars and houses with soda. But then the idea of keeping my house clean and not turning it into a science lab also sounded very appealing.

My son has had a love affair with bowling from a very early age as you can see below. At three years old he was bowling in our hallway and told me, "This crown makes me bowl better." What can I say? The dude abides.


With the location and theme out of the way, we started to talk about his cake. At a restaurant later that night he pulled a notebook and pen out of my purse (any other neurotic list makers out there?) and drew a picture of the cake he had in mind, saying, "It's a surfer bowling cake where the surfer is actually bowling on the water and then a shark leaps out of the water at him!" Wow. I had no idea how that would even come together, but I brainstormed for a day or two and searched around for cake ideas on the web. I almost gave up and went to the dark side for help (the dark side being a bakery), but then I figured I could swing something along the lines of what he wanted.

I asked a few friends if they had a toy surfboard that I could use on the cake, but no one had anything like it. Then one friend suggested drawing a board, so I ran with that idea and made my own cake topper using old photos of my husband's long board and of my son surfing.


I used Mod Podge to adhere a couple of photos to stiff cardboard (an old Amazon.com box) and then I carefully cut out the figures with an X-Acto Knife.


I wish I had thought to take photos of the cake as I made it, but I was having a slight panic attack as I assembled it, thinking it was going to look like a Cake Wreck. I just focused on getting it done by that point.


I  used two boxes of Trader Joe's devil's food cake mix and baked them in two jelly roll pans so I would have plenty of space to work with. Then I baked another box cake mix in a 8x8 pan to use for the wave, cutting it to size. To make the wave, I placed a few blocks of cake on top of the sheet cake and frosted it, then I stuck a small sheet of foil into the wedge of the cake so that it would look like a wave, and I bent the foil to form the curl of the wave and covered the whole thing with frosting. I found the little bowling pins and bowling ball at a cake decoration store and used a rubber shark from our bath toys (Yes, I cleaned it thoroughly). The look on his face was priceless when he saw himself surfing on his own cake.


Monday, April 30, 2012

Rainbow Carnival Cupcakes


I may not be the mom who picks up and drops off their kid every day at school.

I may not be the mom who is the first to reply back on email about bringing in a classroom drink or treat.

I may not be the mom who chaperones every field trip.

I may not be the mom who remembers to coordinate an outfit for Twin Day at school.

I may not be the mom who collects money from everyone to buy a teacher appreciation gift.

But I am the mom who spent her Friday night up to her armpits in food coloring and frosting so her son could bring rainbow cupcakes to the annual school festival.

Behold the Rainbow Carnival Cupcake with enough food dye in the frosting to put a leprechaun into a coma. Frosting recipe can be found here.


Thursday, April 26, 2012

A Kid-Free Afternoon


This past weekend my husband and I realized we had commitments on opposite ends of the Bay and a handyman to let in to the house at the same time. I stayed home to let the handyman in and my husband took the kids for an afternoon with the grandparents in the wine country.Which left me with four glorious hours alone in the house.


I don't know about you, but when I am alone in the house the first thing I want to do is bake in the kitchen ALONE.  Don't get me wrong, I love sharing the time in the kitchen with my kids, but it takes a lot of work and patience and it isn't always *that much* fun. Only recently did I stop having heart palpitations when my kids wanted to help in the kitchen. The combination of mess + danger + disregard of measurements made me want to pull my hair out. 

The handyman was downstairs fixing a window that was broken by our strong-armed six year old and I immediately turned the oven on. I knew what I wanted to make: A chocolate, brownie-like cookie with walnuts. I went through my usual recipes but nothing was looking like what I wanted. A quick Google search yielded exactly what I had been looking for: A fluffy, chocolate-y, walnut studded cookie created by Love From the Oven. I quickly assembled the ingredients and got to work. These cookies come together quickly and sweet lord, the batter should be illegal, it's SO good. I could barely keep my hands out of the bowl and I made short order of the ones that made it out of the oven.

No kids = no sharing required!

After I cleaned up the kitchen I got to work on an overdue sewing project. My remaining two hours of freedom were spent making this beauty

Decades of Style "Protect and Serve" Apron #5005

                                                                    With this fabric

Robert Kaufman's "Effervescense"

I still have a little more to go on the apron (photos to come eventually), but it felt good to recharge my batteries doing things that I love, even if my kids weren't around.

Tuesday, April 3, 2012

From Passover to Kitchen Disasters

This post veers from left to right and backwards and forward, so bear with me.

Some friends invited us to their Seder this Friday and I am so excited, this is my second Seder in 15 years and I love them. I don't follow any particular religion, but I enjoy learning about other religions and wouldn't mind it if my kids gleaned something from these experiences because they won't be getting anything from me, sadly.

While our friends are very open and honest about the fact that they are a bit lazy when it comes to the details (the husband is Jewish and the wife is Catholic), they still want their children to appreciate the meaning behind the holiday.

I wanted to bring a dish that was appropriate as well as kid friendly and I immediately thought to ask Jenny Rosenstrach if she had any dish suggestions. She was kind enough to send this one to me.

We meet again, Toffee

Pretty, right? Well, I have to admit that my heart skipped a beat when I saw it... and not in a good way. I have a PTSD thing going on with making toffee after a pretty disastrous attempt on my behalf about 15 years ago - the same year as my first Seder. Whoa! This idea is sounding bad already - do you think history can repeat itself? 

Fifteen years ago a work colleague asked if I would cat sit for her while she and her husband traveled to New York for the holidays. They owned a beautiful flat in Nob Hill which featured a newly remodeled kitchen. Coming from my dinky two bedroom apartment that I shared with a roommate in the Richmond District, this place was like the Taj Mahal. But then when I saw the kitchen, the Rolodex in my head started to spin with recipes that I just had to make in that kitchen.

Their kitchen featured a new wooden floor, a Viking stove, gorgeous gray marble countertops with brand new appliances from their recent wedding. I am pretty sure the tags has been taken off the stove about three weeks prior to my arrival. After they left for their flight, I pulled out my a Williams-Sonoma cookbook that I brought with me and decided to make chocolate toffee for Christmas presents. I imagined myself wearing a clean white apron, bopping along to music on the stereo while happily bagging treats all day. I had plans that night to meet some friends at the Red Room (RIP).


As I read through the recipe, I realized that I didn't have a candy thermometer. "Meh," I thought, "It doesn't seem like that big of a big deal. Rather fussy if you ask me," I said to myself. I knew how to bake for god's sake, so making candy seemed the same. I mean, how hard could it be, really?

I got to work and as the sugar started to boil, I watched it like a hawk trying to figure out what they meant by the color description "Honey Amber." It went from the color of honey to dark brown so fast that I grabbed an oven mitt and the pan and poured the boiling sugar onto a buttered cookie sheet that I had placed on the counter. The heat from the toffee warped the cookie sheet and it tipped over onto the new stove and quickly oozed its way into the burners and down the new cabinets, spilling onto the new floor. I freaked out and  screamed dropped the pan of boiling sugar and it crashed to the floor, splattering burnt sugar all over the kitchen (fortunately I was spared). I didn't need a candy thermometer to know that the sugar had hit the hard ball stage by the time it reached the floor because I could not get it off.

Sobbing from this potentially expensive mistake, I started soaking some of their beautiful new dishtowels from their wedding in hot water and slowly sponged the toffee off bit by bit. I spent the next six hours working my way around the kitchen, picking, sponging and pulling toffee out of areas I didn't know it could reach - under the fridge, behind the toaster, inside the stove burners, it was everywhere! After that I ordered take out and cancelled plans with my friends at the Red Room. I just sat there, stunned from the days events and watched the cat and counted the hours till they came home. Fortunately the only items I had to replace were the pot, the cookie sheet and some dishtowels.

Needless to say toffee and I don't have a good relationship.

In case I have a panic attack prior to making the matzo toffee, I offered to make Matzo s'mores as well. Surely I'll win Dinner Guest of the Year if I bring fire, sharp pointy sticks and gooey marshmallows for small children to play with. I can just see our invitation being revoked for next year.

For Easter we are sticking to the favorites: Baked ham, asparagus, rolls and deviled eggs. Who says I am not a stickler for traditions?

Monday, January 23, 2012

California Snowin'

Does anyone else panic a little when they go away for a long weekend and are staying at a place that has a kitchen? I do. We spent three nights at a friends cabin in South Lake Tahoe and I was in a food planning frenzy the week leading up to the trip. You would have thought I was planning to take my family to a third world country with the amount of food I was bringing. As if there wasn't a Safeway a mere six minutes from the house. I started to plan every single possible meal and potential food disaster headed my way.

Growing up, we used to spend a lot of weekends up in the snow and the dinners that I remember the most were big bowls of spaghetti and meatballs and lots of garlic bread. I loved those weekends, because we always shared the house with a few other families and there were always plenty of kids to play with. The dinner would magically appear on the table and people would serve themselves.

I wanted that vibe going in, but my need for meal planning took over and so I created the following menu.

Friday dinner: Pasta bake, salad, garlic bread, steamed broccoli and kale chips
 
Saturday breakfast: Cinnamon rolls and fruit - I bought canned cinnamon rolls for the first time in what must be twenty years and they were just as delicious as I remembered them. 
Saturday lunch: Friday night leftovers
Saturday dinner: Homemade pizza, salad

Sunday breakfast: Pancakes, fruit
Sunday lunch: Quesadillas and/or leftovers
Sunday dinner: Chicken stew with pasta

Monday breakfast: Out to eat at the Red Hut
Monday lunch: On the road out of Tahoe we hit an In-N-Out!

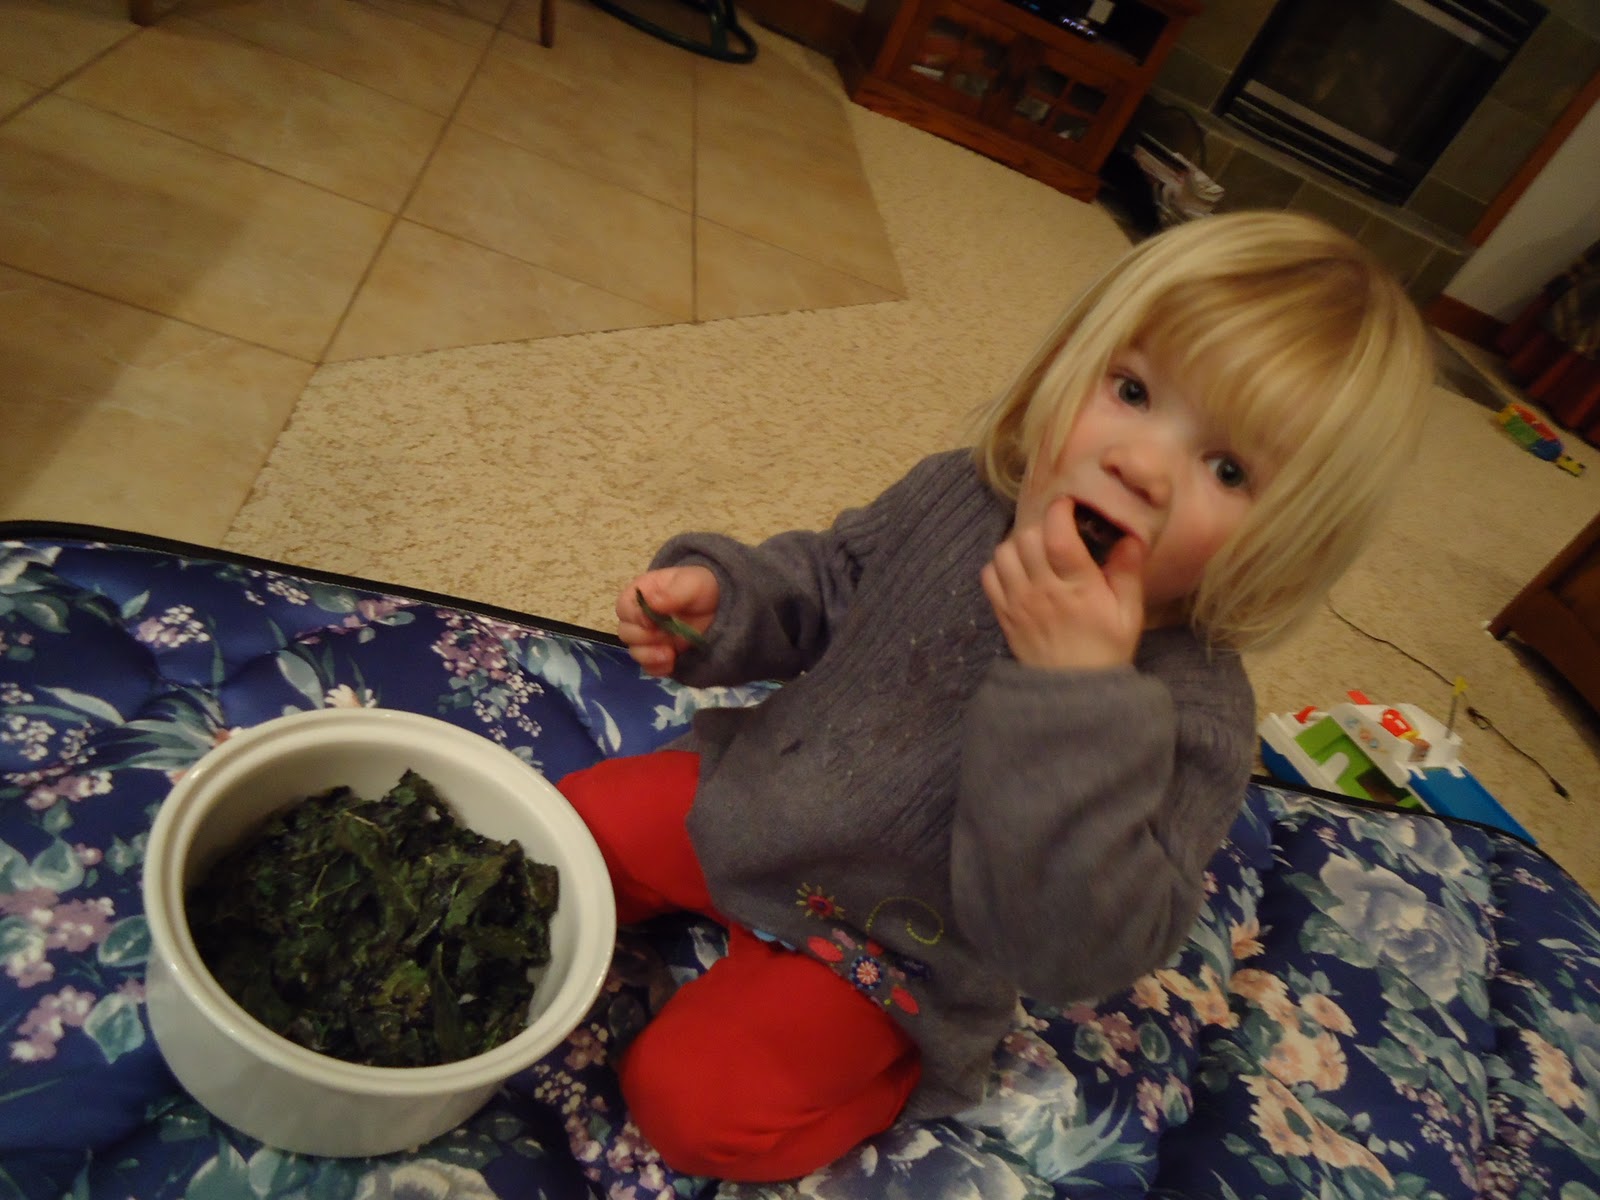
The trip was great and here are a few highlights. The kale monster struck again, eating pretty much the entire bowl of kale chips by herself.


However, the culinary highlight of this trip were the homemade Sno Cones. I wanted to make these with real snow and my kids flipped out when I made them. It could not have been easier (or totally unhealthy, I quickly got rid of this syrup after this picture was taken).

Sno Cone Syrup

1 cup water
2 cups sugar
2 packages Kool-aid mix


Combine the sugar and the water in a sauce pan and bring to a boil for one minute or till the sugar is dissolved. Take the pan off the heat and pour half of the sugar-water mix into a bowl with one package of Kool-Aid and then pour the remaining sugar-water mix into another bowl with the other package of Kool-Aid. Pour into squirt bottles and... Instant Sno Cone syrup!


When we arrived on Friday afternoon, we didn't see any snow and made do with this


And then we woke up to this the very next day


Instant Winter Wonderland. Best trip of the year and it's only January!

Wednesday, December 21, 2011

Extreme Cookie Edition

A few weeks ago I was craving Christmas cookies, so I went through my books, magazines and clips of recipes trying to find the right ones to bake and the choices were overwhelming: Thumbprints, bar cookies, sugar cookies, tassies, drop cookies, coconut, marshmallow, chocolate, pecans... the list went on. In order to have all the cookies that I wanted it was clear to me that I'd have to host a cookie exchange. But not just a regular cookie exchange. No... I just couldn't keep it simple.

I thought it'd be fun to host a cookie decorating party for my kids and their friends... and their siblings... and their mothers who would bring homemade cookies with them for the exchange. Five mothers and ten children ranging in ages from 12 weeks to nearly seven years old. This had potential disaster written all over it.

The week before the party I made the dough from this recipe, part of a feature on how to host a cookie decorating party with children. I have been hanging on to this article for seven years. Now why do you think I thought this sounded like a good idea back then? Because I didn't have kids back then, that's why.

Don't you love getting a glimpse of what an unrealistic person you were before you had kids?

The day before the party I baked over 80 sugar and gingerbread cookies as well as a double batch of  Chocolate Espresso Crinkle cookies for the exchange on the morning of the party. I covered our dining room table with a disposable tablecloth and gave each child their own tin tray with sprinkles in cupcake liners and a Ziploc bag filled with royal icing.


This was the best idea of the party - the disposable trays. I put the sprinkles in mini cupcake liners so it would provide containment and quantity control with how much the kids could dump onto a cookie. I had visions of fist fights breaking out over sprinkle containers, so by giving everyone their own supplies, I think I eliminated a lot of potential tears. I thought of this myself and will be patting myself on the back for it for the next year.


The Swedish Ginger Cookie recipe was alright, but it was not nearly as sweet as I had hoped. However, it bakes up nicely and when decorated with icing, the kids loved it.

The Sugar Cookie Cutouts recipe was very good and is one that I would definitely make again. (Please don't tell this to my family who regards my grandmother's butter cookie recipe as if it were legend.)

I really appreciated the tips in this article about hosting a party. I'll show before and after pictures below, but the author's advice was on the money: Make more frosting than you think you'll need, because kids will pile that stuff on. I had back up canisters of store bought frosting and the younger children ended up using these because royal icing is stiff and can be tricky to squeeze out. Only trouble is that canned frosting, or any buttercream frosting for that matter, will not harden.

I prepared myself for the mother of all messes and just let it happen. One sweep of the vacuum cleaner and it was back to normal. (Did I mention that I am a bit of a neat freak?)

One mother was kind enough to bring Champagne for mimosas and I provided bagels and cream cheese with smoked salmon. We had a civilized time exchanging some of the most delicious homemade cookies while the kids completely went nuts with the cookies. Everyone left after two hours, pleased with their cookies and I got to spend the whole day nibbling cookies rather than eating real food.

Ah well, it's Christmas and I got what I wanted - a variety of Christmas cookies and some fantastic memories. Can't say I'd do this again, but then again, there is always next year...


Saturday, July 9, 2011

What would you do?

If you were walking down a path in Golden Gate Park near the California Academy of Sciences and your child found a tattered recipe for brownies near a puddle on the ground, would you go home and try to make them? We did.


A few weeks ago we had just finished a trip through the Academy of Sciences and were walking behind the museum, near the kitchen and staff-only entrance, when my son yelled out that he found a "secret treasure map." I absentmindedly yelled "Cool!" and then went back to walking along with his sister. He ran up to me, breathless and holding the recipe out to my face and said "No, really! This is a serious map! Look! It has math on it!" I looked at it a little more closely and saw the word "BROWNIES" across the top of the page and I stopped dead in my tracks. Could this be the recipe that the Academy uses for the gourmet cafe that I always sit in and eat my packed-from-home lunch in? The very same one where I drool over the brownies every time I am in there, yet I am turned off by the $4 price tag? Did my son just find the San Francisco equivalent of the famous Neiman-Marcus cookie recipe? I'll never be sure, but I'll be damned if this recipe doesn't have the same kind of measurements that would serve a busy cafe in a museum like the Academy Cafe.


We came home and decided to give it a go, but I halved the recipe for obvious reasons, you know something is up when a recipe calls for a pound of butter and 14 eggs. And you know what? It was pretty darn good! I really appreciate some of the baking tips it gives - the hot water trick works like a charm. We'll never know if this was the big discovery or not, but it made for a fun afternoon with my son baking in the kitchen. And he thinks they are the best thing he's ever made and he is right... NEXT!

Tuesday, July 5, 2011

Tart Cherry Ice Cream on the cheap

There are so many things that I love about the King Arthur Flour Company and their catalog. When the catalog comes in the mail, I find myself lusting over products that I don't need or have room for (whatever happened to using a good old fashioned oven for your cupcakes??). However, it is the K.A.F. recipes that I love, but majority of them require ingredients from their line of products. After swooning over the Tart Cherry Ice Cream recipe, I knew it was going to be a budget buster with their ingredients. I made a few simple swaps that took the cost of this recipe from $38 (with shipping) to $6 for a 1/2 gallon of ice cream. 

I used my trusty Kitchen-Aid Ice Cream maker attachment to make this ice cream. I froze the bowl for 24 hours and also chilled the cherry ice cream base for 24 hours to let the flavors meld. The ice cream was too tart when I finished mixing it together, but the flavor mellowed and wasn't so harsh after sitting in the fridge overnight.


The original recipe is here, and below are my changes.

Tart Cherry Ice Cream on the Cheap

1 bottle of Trader Joe's Tart Cherry Juice
1 1/2 cups heavy cream
1 cup whole milk
3/4 cup sugar
1/4 cup vanilla instant pudding (I used the Jell-O brand)

In the original recipe, K.A.F. has you use their special $17-for-16 oz. cherry juice concentrate, but that would make this recipe too expensive for me. The recipe writers suggest using frozen cherry juice concentrate as a substitution, but I couldn't find it at my local grocery stores. In a pinch I figured that Trader Joe's cherry juice would make a fine substitution.

In a saucepan, slowly simmer 2 cups of cherry juice (you will want to see tiny bubbles at the edges and avoid boiling), and reduce it down to about 3/4 cup of juice, about the consistency of maple syrup. I ended up having to do this twice because I got distracted and wandered off only to come back to a huge sticky mess that boiled over onto my stove top. Let the syrup cool in the fridge.

The recipe writers do make one thrifty suggestion that I actually used. Rather than buy their pastry mix for $9, they said that vanilla instant pudding would be a fine substitute. In a bowl, whisk together, the heavy cream, milk, sugar and 1/4 cup of the vanilla instant pudding powder. Add the cherry syrup and whisk till combined. Refrigerate for at least 2 hours or overnight. Then follow your manufacturers instructions for your ice cream maker.

Using my KitchenAid attachment, I mixed it at Level 1 and it came together in a frosty, custard-like consistency in about 20 minutes. Freeze it for at least two hours so that it can "ripen." It scooped out beautifully and I topped it with some chopped Trader Joe's bottled morello cherries. Next time I will reserve a little cherry syrup to drizzle over the top.

Saturday, June 18, 2011

Just a girl and her frosting gun

My son has gone the typical route with youthful obsessions - trains (ages 1 - 3.5 years), insects (ages 3.5 - 4 years) and now dinosaurs (ages 4-6 years). When I asked what kind of party he wanted for his sixth birthday he said without hesitation, "Dinosaur Party." I decided to be one of the first in my child's age group to have a birthday party without supervising parents or siblings in tow, I could already envision the party the way I wanted it to be and then quickly realized the party it was going to have to be. I wanted everything to be dinosaurs, but then reality hits and you are just lucky to throw a few plastic dinosaurs on the cake.

Cake from 2010


About a month ago I scored a bucket full of unused party supplies at a thrift store in the dinosaur theme. I was all set for napkins, hats and a bag full of dinosaur eggs with little dino figurines inside for a treasure hunt. I also knew that last years dinosaur cake was nice and all and was a great use for my many Wilton color gels, but I had to up my game. And finally, since no parents would be here to admire my hard work I could let go of caring about details that only an adult could appreciate. Because lets be honest, all a six year old cares about are frosting amounts per slice of cake and games and pinatas.

I originally wanted to do individual molten chocolate cakes but the molten part of the cake would have to sit for about 6 hours before I served it, so that was quickly nixed. I borrowed my mom's popover pan and thought they could be passed off as a volcano if I turned them upside down. I'll admit I used a box devil's food cake mix here, but I always make my frosting. This is where I can relate to the six year old - I appreciate good frosting!


After the cakes cooled I dug a little well from the center using a fish knife (never once did I use this knife for a fish, so it was nice that I found a use for it finally). My friend from work loaned me her frosting gun and once I got the hang of this baby I wanted to inject everything! You'd like to have a pancake filled with syrup? Let me get my gun! What's that you say? The bakery gave you a doughnut with no jelly in it? Step aside while I load my frosting gun. Of all the kitchen gadgets, this one is my favorite. So I made my favorite buttercream (recipe below) and colored it deep lava red and got to work.

I thinned out a portion of the icing with a little extra milk so it would be runny and drizzled it over the top of the volcano to give it that oozing lava look. I loved the way these came out.


Lunch was simple cheese or peanut butter and jelly sandwiches cut into dinosaurs with our cookie cutters, a rainbow fruit salad and some Trader Joe's cheese poofs.


For games we had a treasure hunt in our tiny backyard with all those dinosaur eggs and a few Easter eggs thrown in for good measure, Fishing for Dinosaurs game where my husband took some old bamboo rods and made little fishing poles for the kids to use to pick up dinosaurs in our kiddie pool, Pin the Horn on the Triceratops, and a pinata filled with all the crap we've accumulated from previous birthday parties and their goody bags. I hate goody bags and refuse to do them, so it felt slightly mean spirited to be sending this junk back home with other kids, but we have no use for that stuff. All in all this was one of those great birthday parties that I'll certainly never forget. Every parent that came commented that these parties should be the new way of doing them, drop your kids off and get a few hours to yourself. I couldn't agree more. it was easy as long as you have a helpful spouse and have pretty much accounted for every minute that the kids are with you.


Buttercream frosting recipe

1 stick of butter (room temperature)
3 3/4 powdered sugar
3-4 tablespoons milk
1 teaspoon vanilla

Cream the butter for a minute or two, add the sugar, milk and vanilla till thoroughly mixed.